First make sure you have scanned in your post card, both front and back separately. Make sure they are cropped properly as well. If your printer does not crop your photos for you automatically then I recommend installing Irfanview. Irfanview is a free and open source photo viewing software that comes stacked with a variety of options- including an 'Auto Crop Borders' tool that will trim off the extra white space for you.
 |
| The 'Auto Crop Boarders' Tool in Irfanview |
Once you've got that ready go to this website: http://www.quickpicturetools.com/en/combine_images/
This is the fastest and most efficient photo combining tool I could find.
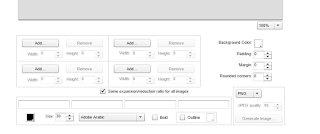
Next you want to decide what layout you want for your photos. You will most likely choose either horizontal side-by-side photographs or vertical top-to-bottom. I prefer Vertical top to bottom. The site makes it easy to do either one. You will see at the bottom of the gray viewing area a grid. Each section in this grid has a button that says 'add photo'.
 |
| The grid you will use to add in your photos |
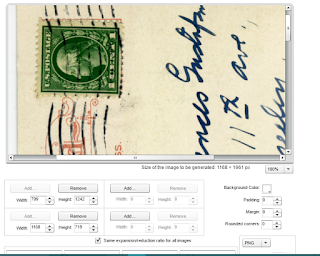
Simply add the photo into the box that corresponds with the correct location for each photo. Since I want to make my photos stitch together top-to-bottom I add them in like this:
 |
| The layout for the photos |
 |
| A finished scanned postcard |
I'm anxious to try this. Thanks!
ReplyDeleteNo problem!
DeleteGreat post
ReplyDelete